Homemade Herb Infused Oils
Making homemade herb-infused oils is easy, though it does take a bit of time to do it right and get the most from your herbs. While there is a quicker water-bath method that involves heating the herbs in oil for a few hours, I much prefer the slower, long-infusion method for better results.
Choosing Your Herbs
Start with dried herbs. If you're using fresh herbs from the garden, make sure they’re wilted and dried to avoid moisture, which can cause mold in the oil. Health food stores often carry most of the herbs you'll need, but you can also dry your own or you can purchase them from a trusted supplier such as Mountain Rose Herbs.
Infusing Oils for Specific Purposes
When making herb-infused oils, it’s important to first decide which herbs to use based on what you’re trying to achieve. Here are some examples:
For Aches, Pains, and Inflammation
I use a mix of white willow, horsetail, comfrey root, St. John’s wort, spearmint, chamomile, calendula, and black pepper. These herbs have properties like reducing inflammation, soothing sore muscles, and promoting healing and comfort.
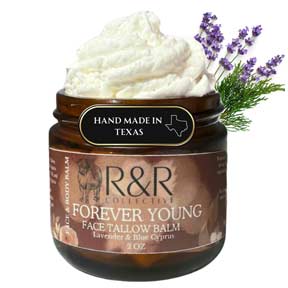
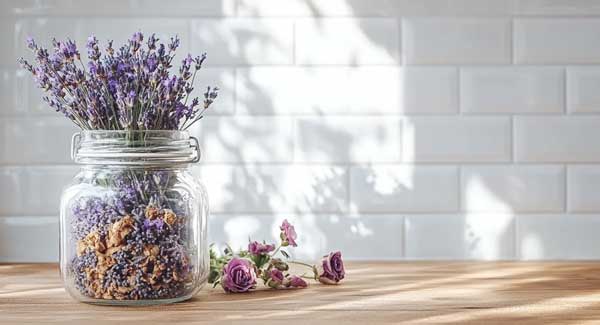
For a Comforting Lavender and Rose Scent
A calming and soothing combination of lavender and rose is perfect for a relaxing salve. These herbs help with minor cuts, scrapes, and dry skin while adding a beautifully calming scent.
For Anti-Fungal Use
Herbs like horsetail, comfrey root, chamomile, calendula, white sage, and ceylon cinnamon are ideal for fighting fungal infections and promoting skin healing.
The Long Herb Infusion Method
The long method for infusing herbs in oil is my preferred approach because, although it takes time, the results are worth the wait. The oil becomes richer and more potent, delivering the best benefits from the herbs. Once you've chosen your herbs, it's time for you to start.
Preparing the Herbs
If you're purchasing herbs, you can place them directly into a jar - I prefer Mason jars. If you're using fresh herbs from your garden, make sure to rinse and fully dry them until they're wilted to avoid moisture, which can cause mold during the infusion process. Chop them into small pieces before placing them in the jar.
How Full Should the Jar Be?
Fill the jar with herbs, but not too full - you want enough space so that the oil can completely cover them. For bulkier herbs like peppercorns, I pulse them in a coffee grinder to release more of their properties. It’s not necessary, but it's what I do.
Choosing the Right Carrier Oil
Now, it’s time to add your oil. I use either extra virgin olive oil or avocado oil; avocado is my preferred oil as it has a higher smoke point and a lot of my creations involve using heat. Extra virgin olive oil is great for its anti-inflammatory properties and skin benefits, but feel free to experiment with other oils like fractionated coconut oil or jojoba oil based on your what you plan to make when you're finished.
Cover, Seal, & Store the Jar
Pour the oil into the jar until the herbs are fully submerged, leaving a little space at the top. Seal the jar with an airtight lid (I will add wax paper over the opening before sealing with the lid), and every few days, give it a gentle shake to help the infusion process. You can also open the jar every now and then to stir and lightly press the herbs with a wooden or plastic spoon. Just be sure to wipe the edges and reseal the jar tightly.
Store the jar in a warm spot in your home, like a sunny window or on the kitchen counter (I infuse oils in the warmer months). Anywhere that isn’t too cold will work - just don’t forget to shake it!
Infusion Time & Patience
Let the herbs infuse in the oil for 4 to 6 weeks - I've even gone longer. I know it’s a long wait, but trust me, the result will be worth it. After the infusion period, strain the oil using a doubled-up piece of cheesecloth. Squeeze out every last drop of liquid. If needed, you can strain it a second time for extra clarity.
Optional: Every two weeks, you can strain out the old herbs and add fresh ones for an even stronger infusion.
The Short Herb Infused Method
The short method for making herb-infused oil is much quicker than the long method and can be done in just a few hours using heat. I don't prefer this method as I feel it changes the end results. I've never used the short method but have a friend that tried it over heat and I just didn't like it.
- Choose your herbs and oil: Just like the long method, start with dried herbs (to avoid moisture and mold) and your preferred carrier oil, such as olive oil, coconut oil, or almond oil.
- Prepare the infusion: Place your dried herbs in a heat-safe jar or a double boiler. You’ll want enough herbs to fill about half the jar or container.
- Warm the oil: Pour the oil over the herbs, making sure they are fully submerged. Set the jar in a pot of water (like a double boiler) on low heat, or directly heat the oil and herbs in a slow cooker or double boiler. Keep the heat very low to avoid cooking the herbs.
- Infuse the oil: Let the oil and herbs gently warm for 2 to 4 hours. Stir occasionally to make sure the herbs are being infused evenly. Make sure the oil doesn’t get too hot, as this can destroy the beneficial properties of the herbs and the oil.
- Strain the oil: After the infusion time, cool then strain the oil through a cheesecloth or fine mesh strainer to remove the herbs.
- Store the oil: Once strained, transfer the herb-infused oil to a clean, airtight container and store it in a cool, dark place.
Popular Oils for Herbal Infusions
Sweet Almond Oil
- Lightweight and easily absorbed
- Great for skin salves and massage oils
- Mild scent that won’t overpower herbs
Grapeseed Oil
- Very light and fast absorbing
- Ideal for facial oils and acne-prone skin
- Shorter shelf life than some oils
Sunflower Oil
- Budget-friendly and rich in vitamin E
- Gentle and nourishing for skin
- Good all-purpose infusion oil
Safflower Oil
- Light texture and non-greasy feel
- Works well in lotions and balms
- High in linoleic acid for skin support
Rice Bran Oil
- Contains antioxidants and vitamin E
- Medium weight with good skin absorption
- Great for mature or dry skin formulas
Apricot Kernel Oil
- Similar to sweet almond but lighter
- Excellent for sensitive or mature skin
- Softens and nourishes
Oils Best for Facial & Skin Care Infusions
Rosehip Seed Oil
If you like this oil, it is best added after infusion rather than heated.
- Rich in vitamins A & C
- Supports skin renewal and glow
Argan Oil
This oil is often a choice to be added after the infusion process.
- Deeply nourishing and moisturizing
- Ideal for luxury skin blends
Jojoba Oil
- Mimics skin’s natural sebum
- Very stable and long shelf life
Oils Better for Heat-Based Preparations
These oils are a nice choice if you make salves or balms.
- Avocado oil
- Sweet almond oil
- Sunflower oil
- Rice bran oil
Shelf Life Tip
Oils with longer shelf lives include jojoba, sweet almond, and avocado oil, while grapeseed oil is lighter but tends to spoil more quickly.
Storing Your Finished Infused Oils
Store your infused oils in airtight glass containers, label them with the date and contents, and keep them in a cool, dark place. Properly stored oils can last for several months.
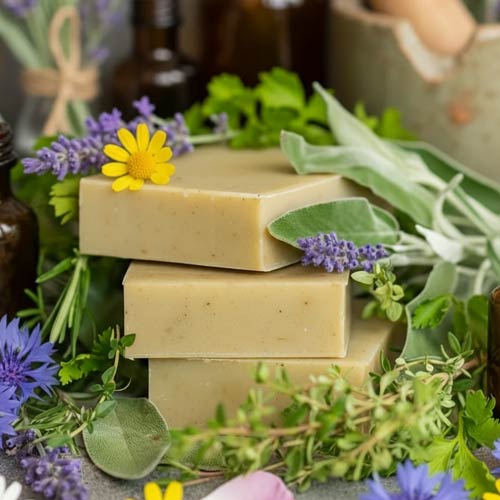
Once your oils are ready, you can use them in salves, lotions, or as-is for soothing skin relief.
Taking the Next Step After Infusing Your Oil
Once your herbal oil is ready, the fun really begins. Infused oils can be used on their own, but they truly shine when turned into soothing salves, balms, and skin loving blends. If you’d like to take the next step, these articles over on the Earth to Jamie website, will walk you through creating simple, nourishing remedies using your finished infusion.